Lowering the Fender
![]()
|
Lowering the Fender
|
|
|
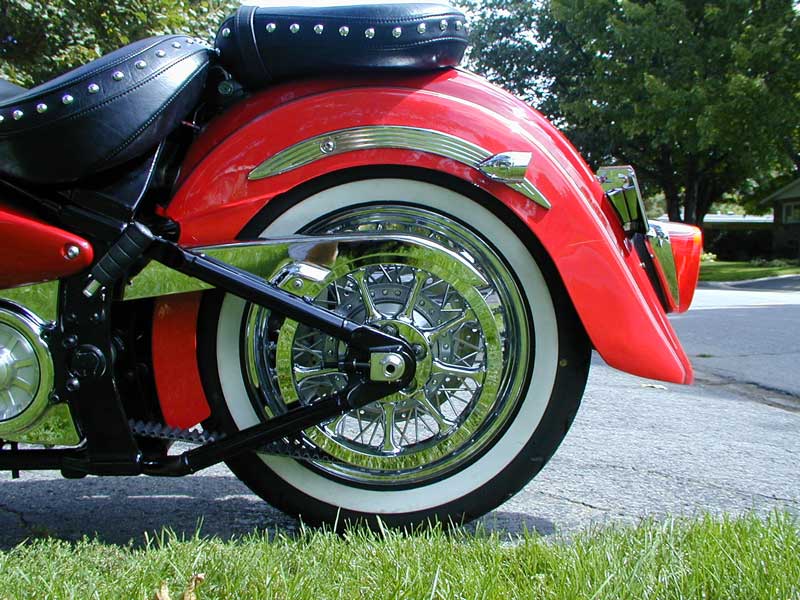
Lowering the Rear Fender
I can't take credit
for this mod as it was another RoadStar Riders Forum member (don't know who) who did it first
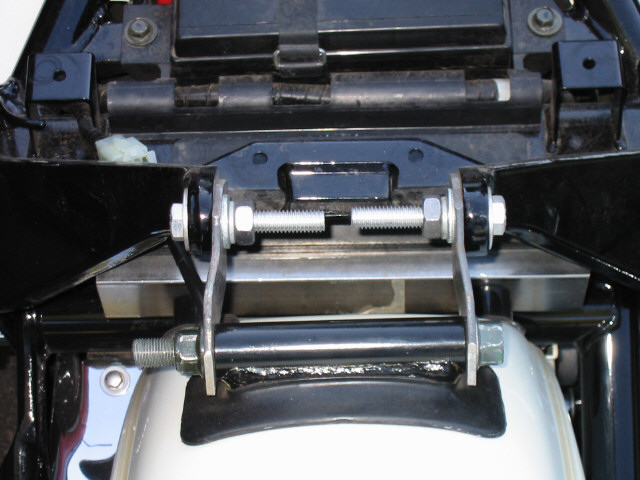
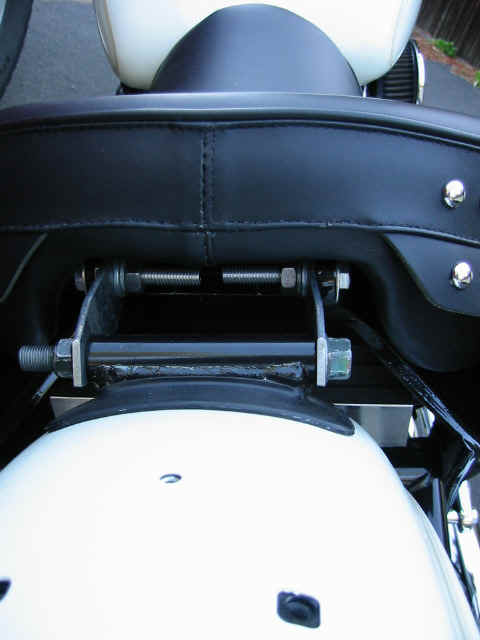
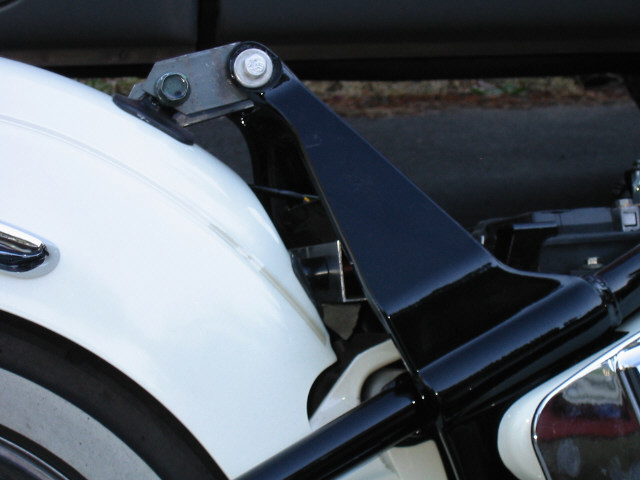
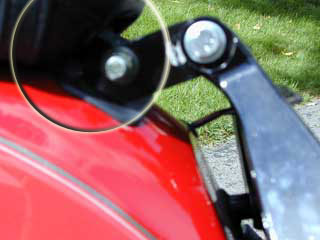
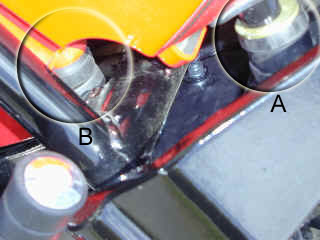
and posted the pics (his are the ones with the white MM), but here's what I did: For the top A-frame support I made a 2 brackets out of aluminium stock to tie the fender to the A-frame. The bracket has to be bent a little to tie the A-frame support to the fender. I drilled two holes in this bracket that centre to centre are about 2” apart. You can use the original long bolt to tie the fender to the new brackets, but need to buy two short bolts to tie the new brackets to the A-frame. The fender will have to be moved back in order to align it evenly around the tire which brings it about 2" away from the A-frame. To fill the space between the knobs on the fender and the A-frame crossmember, I used the rubbers bumpers you can get for the springs on a car. They are about 1.5" in diameter by 2" long and space the fender out perfectly (or you can easily cut them to suit). The rubber spacers are very hard so they do not compress, even with my weight bouncing up and down on the rear seat .... the fender seems to move normally. Alternatively, you can use anything else non-compressive that you have. You also need to buy 2 longer bolts to attach the fender to the crossmember to secure the fender. When you do the fender, the rock guard in out of alignment and looks weird so I
bought longer bolts and some smaller shock spring rubbers and spaced it out to
make everything line up.
The above picture show the short bolts used to secure the brackets to the A-frame and the original fender bolt used to secure the fender to the brackets.
|