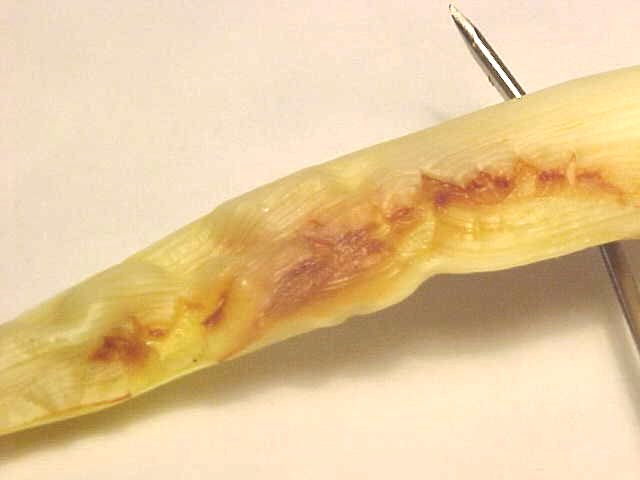
Image 1: Spring sickness develops before the shoots emerge and only becomes visible above ground when the foliage has grown out.
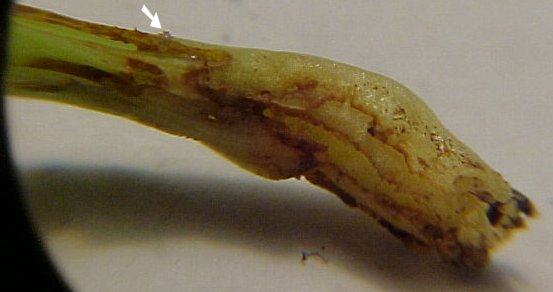
Image 2: Two seedlings were damaged at the base with a needle. Bulb mites were added to one and not the other. The above picture taken some time later shows the one to which bulb mites had been added.
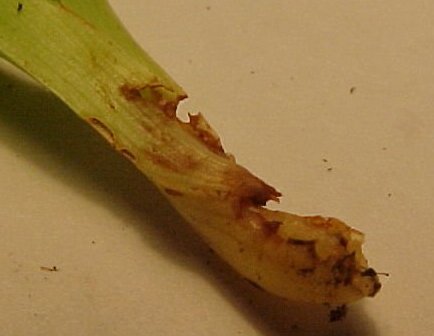
Image 3: An outer leaf of the previous image.

Image 4: The seedling with bulb mites before outer leaf removal.
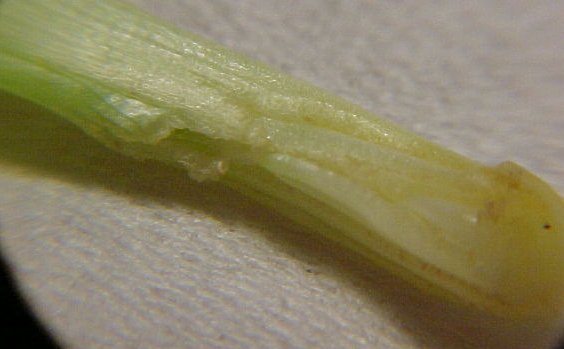
Image 5: The seedling to which no bulb mites had been added.
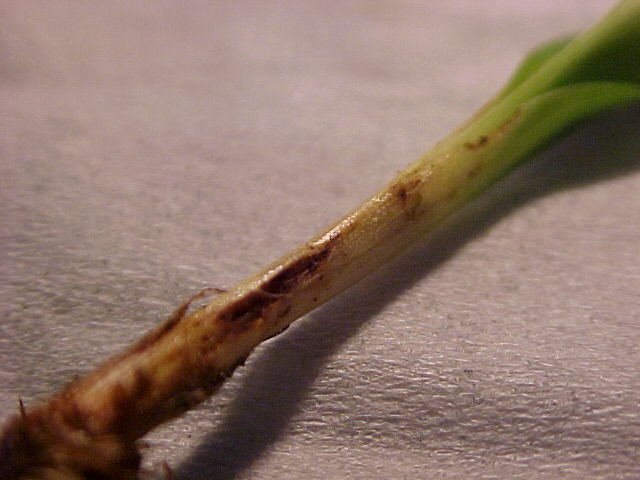
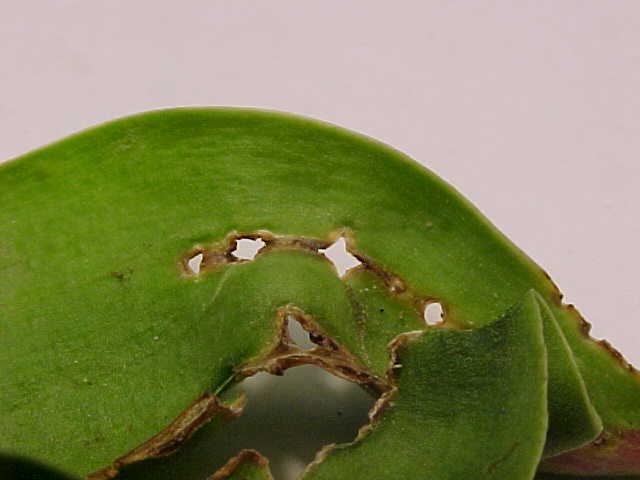
Image 6: Since bulb mites damage injured seedlings, another experiment involved adding them to undamaged seedlings to see if they could gain entry without a pre-existing injury. The above shows the result.
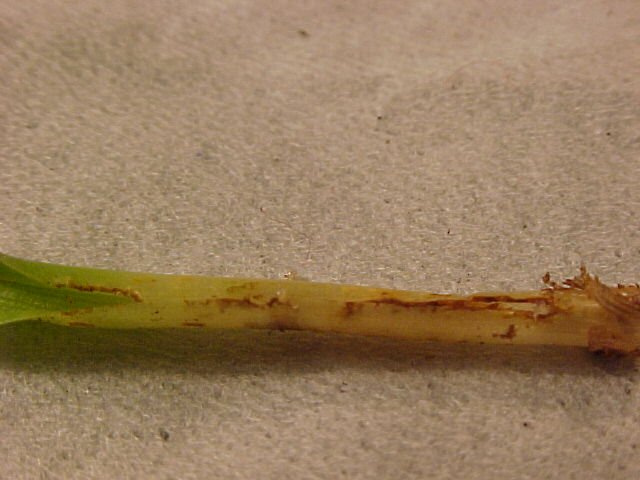
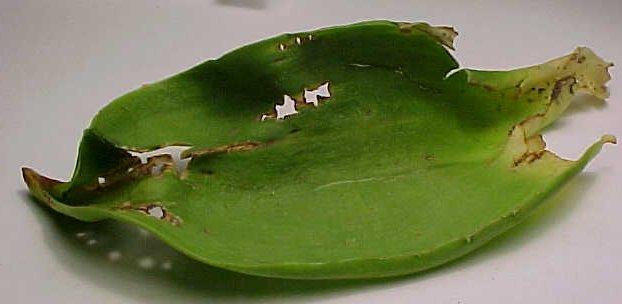
Image 7: Bulb mite damage to the outer leaf of the above.
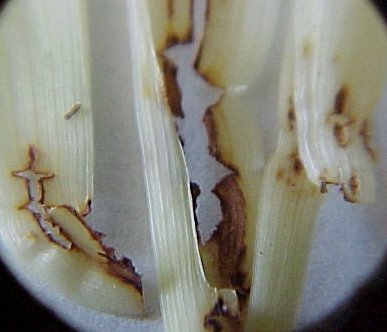
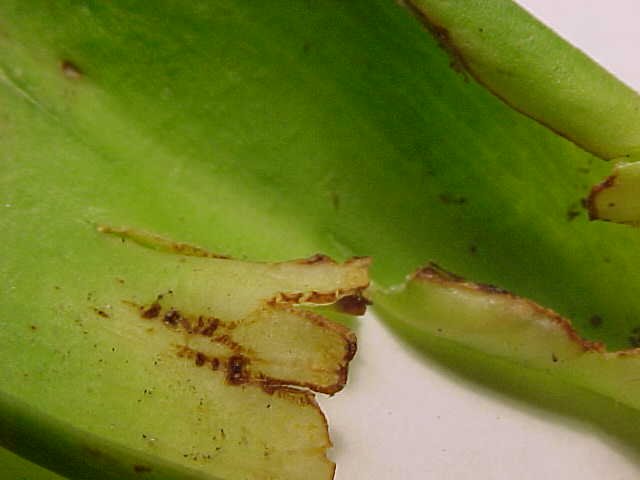
Image 8: A clump was dug in autumn and kept in an open-sided barn until January (in Ontario, Canada). In January the clump was brought into the house and commenced growth immediately. Two fans started to grow sideways and were dissected, the above shows part of the dissection. Numerous bulb mites were present in the injured area.
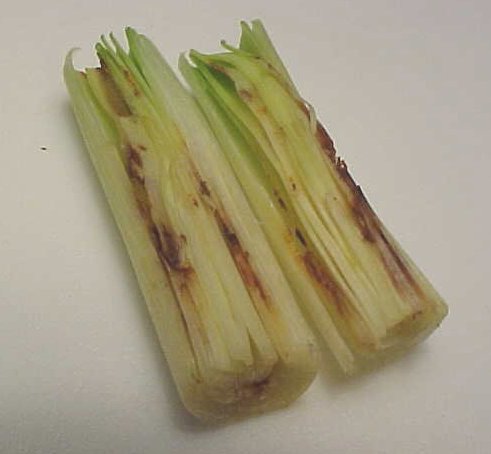
Image 9: Internal spring sickness that has not yet grown out.

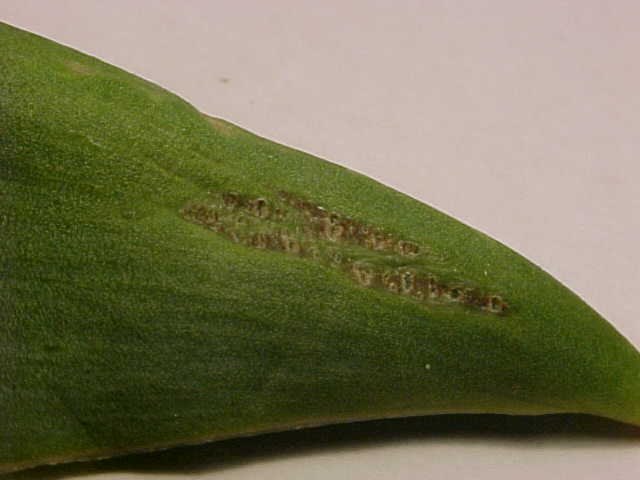
Image 10: Bulb mite injury in daylily kept indoors for winter, pits and gouges. Note also mite in centre.
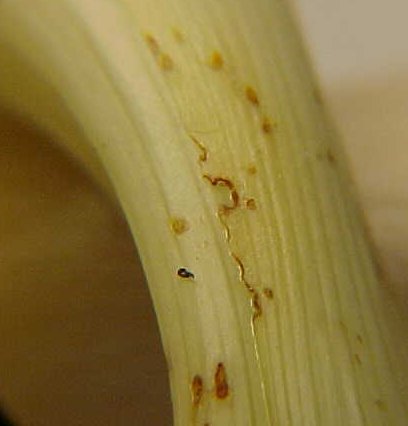
Image 11: Bulb mite damage to dayliliy.
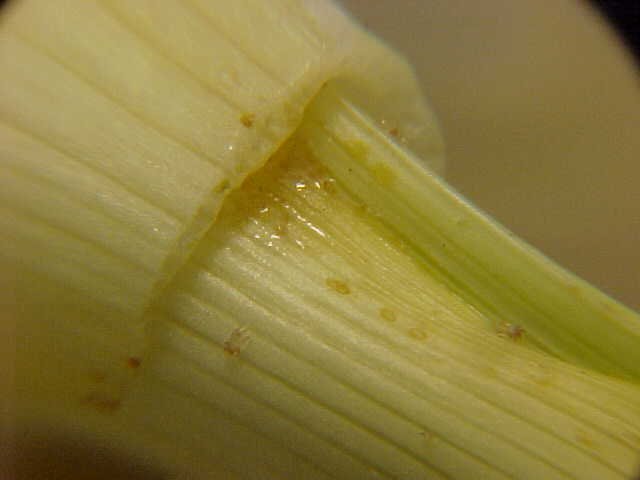
Image 12: Close-up of bulb mite "pits" that have not yet turned brown. Two mites making their escape from the light!
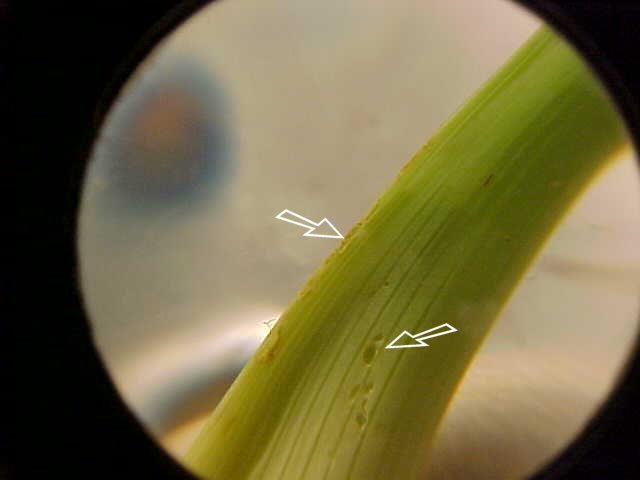
Image 13: Bulb mite damage to daylily kept indoors for winter, no other pests present. Left arrow shows damage to shoot edge and right arrow shows bulb mite pits that haven't yet browned.
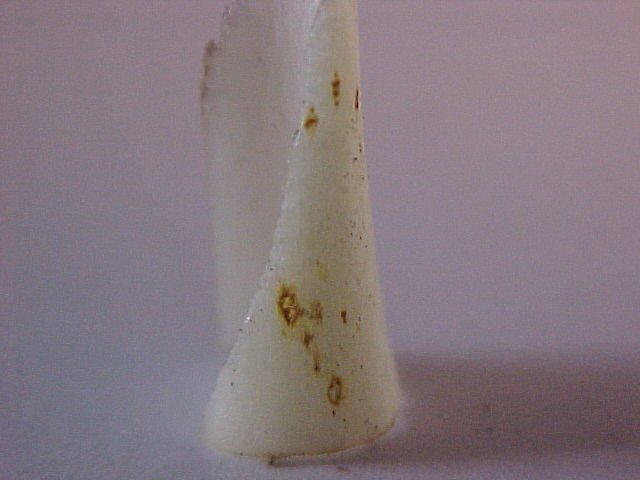
Image 14: Shoot from a clump dug in November, bulb mite damage present.
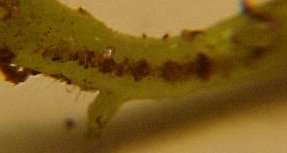
Image 15: Bulb mites were added to a sprouting potato, with this result.
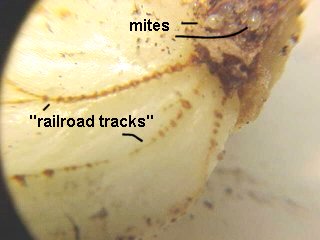
Image 16 and all images following, damage resembling daylily spring sickness on tulip, in the presence of bulb mites.