First I checked out the service manual and bluepoof.
The service manual would have you take the carbs off to remove the
front vacuum cap. Bluepoof suggests tee-connectors and valves. Arghh!
My
2000 SV650S has two vacuum nipples on the rear carb, one feeding the
petcock, the other the fuel pump. Here's my own brand of simplification.
 Removed the front vacuum cap (prying
from below
with a
very long
screwdriver), and installed a 3" x 3/16" access hose, capped with an
aluminum plug (confession, had to move the radiator to install the
access hose), and a little retaining spring to keep the cap in place,
no less. When synchronizing, the cap is removed and replaced with
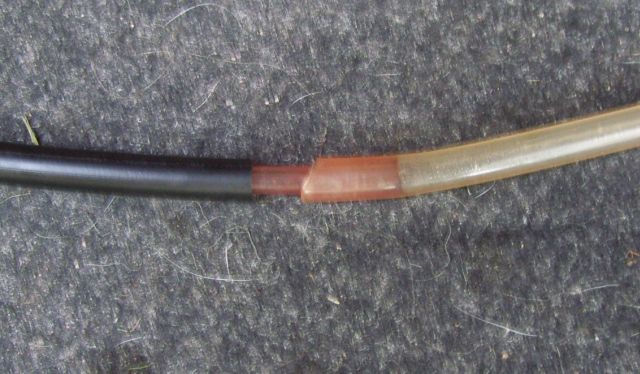
a 1 1/2" length of plastic drinking straw that just fits inside the
3/16" access hose (and the 3/16" differential manometer hose). I
zip-tied the access hose to the fan wiring so it doesn't flop around.
 Pop off the air box
so you can get at the rear carb vacuum nipple and the synch adjusting
screw.
The drain tube on the right lifts up with the airbox. Disconnect the
two
tubes on the left (break your fingernails on the front spring clamp,
replace it with a hose clamp).
- Disconnect the gas line from the tank at the fuel pump.
Attach an
auxilliary gas supply to the fuel pump for
the carb synch process.
- Disconnect the petcock vacuum line at the rear carb. The
SV650S
petcock and tank are now out of the circuit.
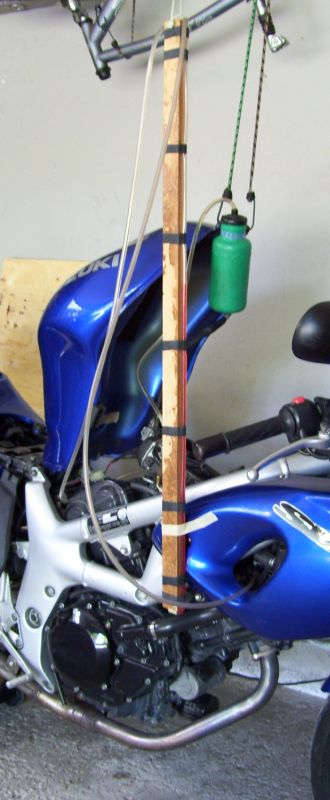
- Connect the differential
manometer directly to
the rear carb nipple and to the front carb access hose with the
drinking straw coupler. The manometer connects to the vacuum
access hose through the right fairing vent.
 Run the engine,
twiddle the
adjusting screw 'til the manometer liquid levels are equal..
Assembly is the reverse order of disassembly (CB160 Service Manual
jargon).
 Removed the front vacuum cap (prying
from below
with a
very long
screwdriver), and installed a 3" x 3/16" access hose, capped with an
aluminum plug (confession, had to move the radiator to install the
access hose), and a little retaining spring to keep the cap in place,
no less. When synchronizing, the cap is removed and replaced with
a 1 1/2" length of plastic drinking straw that just fits inside the
3/16" access hose (and the 3/16" differential manometer hose). I
zip-tied the access hose to the fan wiring so it doesn't flop around.
 Pop off the air box
so you can get at the rear carb vacuum nipple and the synch adjusting
screw.
The drain tube on the right lifts up with the airbox. Disconnect the
two
tubes on the left (break your fingernails on the front spring clamp,
replace it with a hose clamp).
 Run the engine,
twiddle the
adjusting screw 'til the manometer liquid levels are equal..